
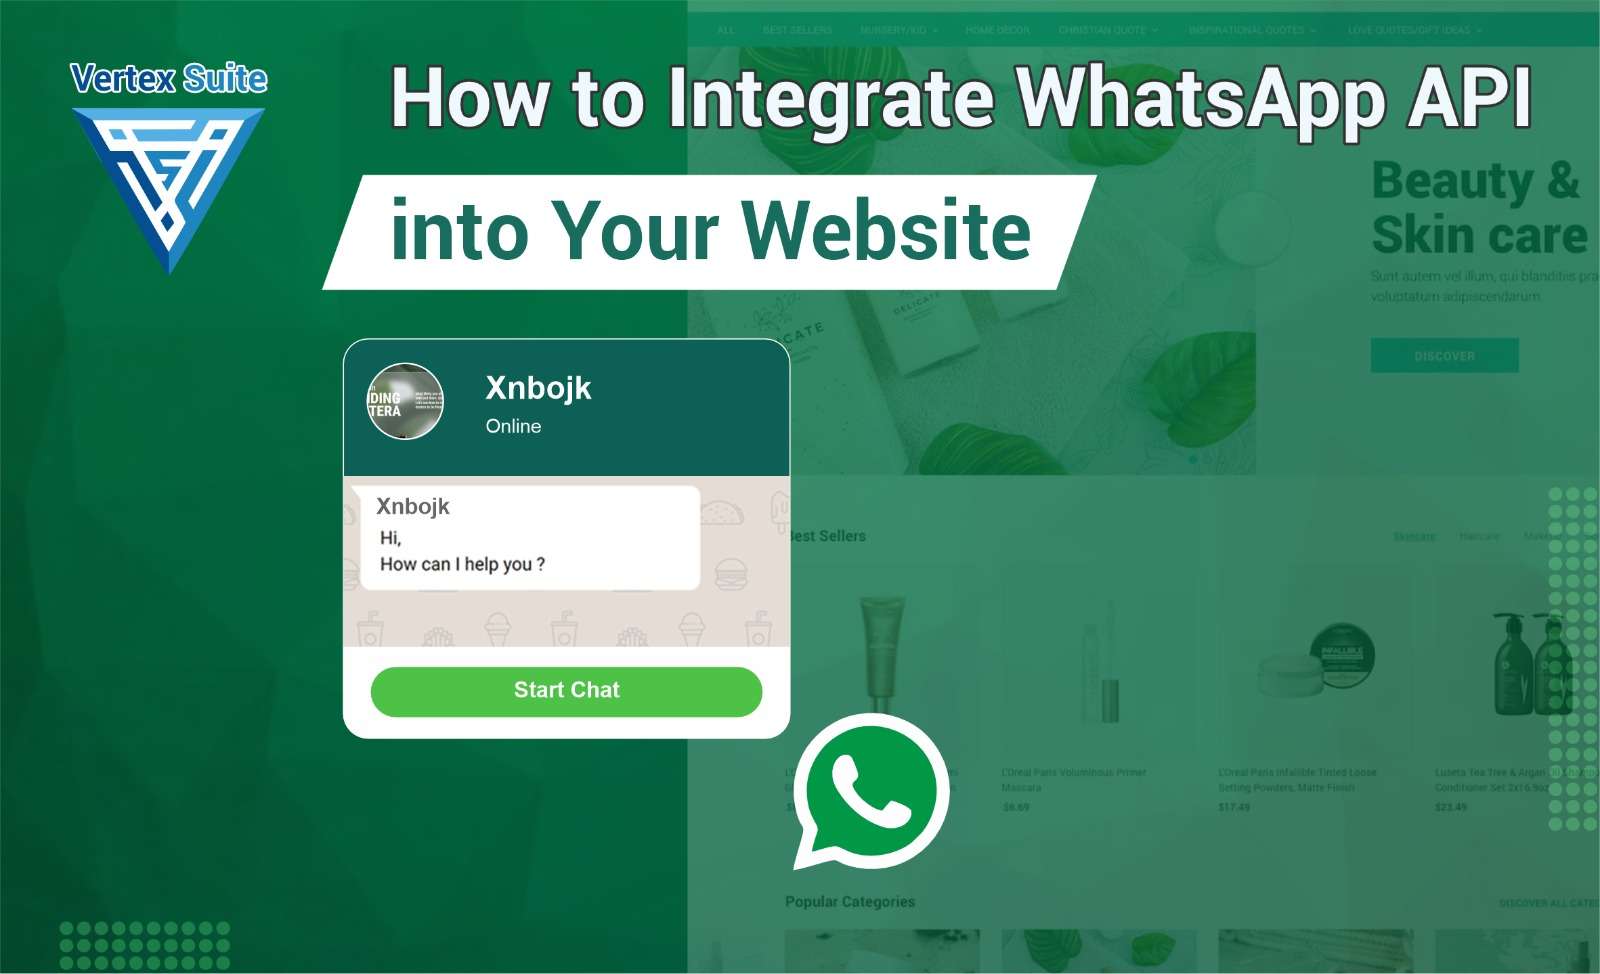
Implementing new strategies is an important link to grow your business and in this chain, integrating WhatsApp Business API into your business website to enhance better communication with the audience is an important step to grow your business.
This integration not only makes it easier for your business to connect with customers but also opens up a world of possibilities for customer engagement. In simple words, it is a new and user-friendly way to grow your business.
In this comprehensive guide, we'll walk you through how to integrate your website with the WhatsApp Business API to the best of our knowledge.
Why Integrate WhatsApp API?
A small question, why integrate API in the website? Let us know what will be the benefits of its integration in business. Some points are given below:
Direct and convenient communication:
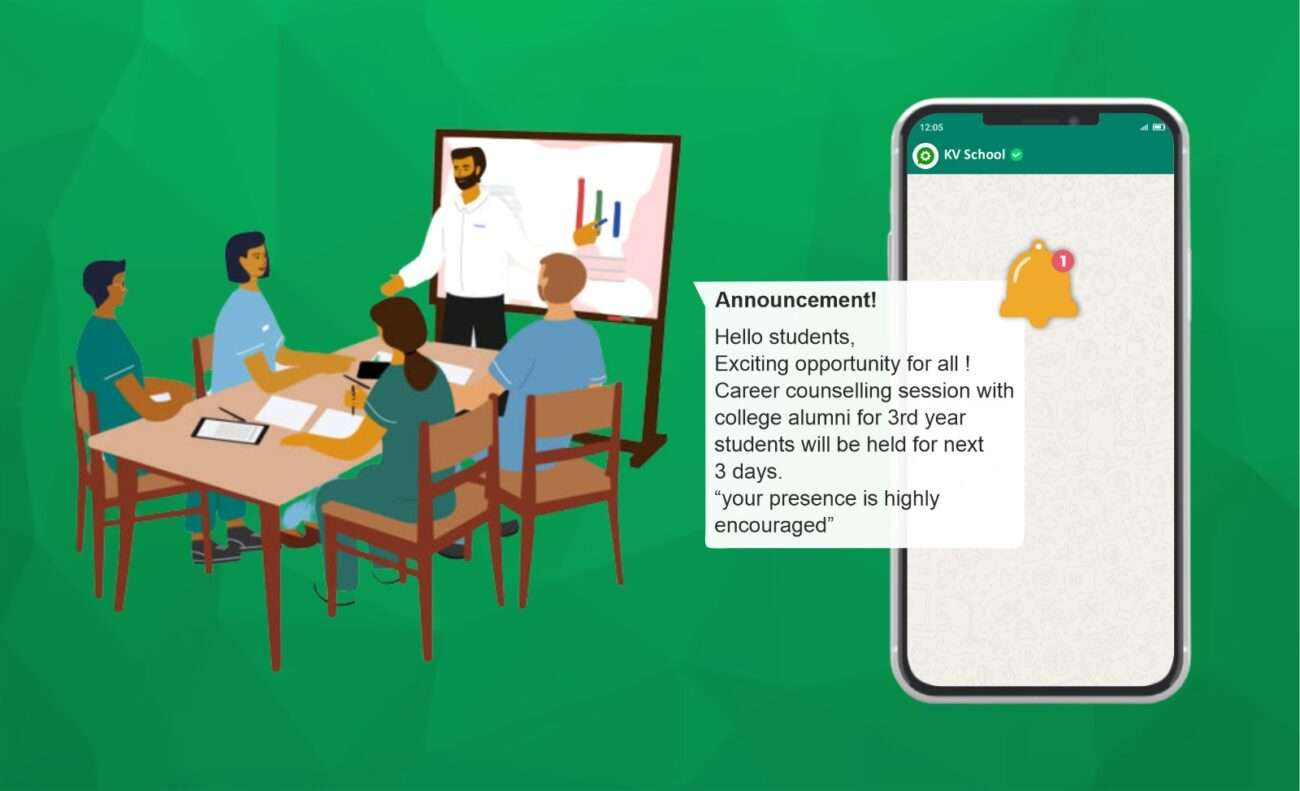
As you know, WhatsApp is the best messaging platform. So by integrating it with your website, you provide a convenient way for your customers to reach your business directly.
Real-Time Engagement:
Its integration allows you to have real-time interactions where you can seamlessly process customer inquiries with the help of your mobile WhatsApp app or centralized dashboard, which increases customer satisfaction.
Improved User Experience:
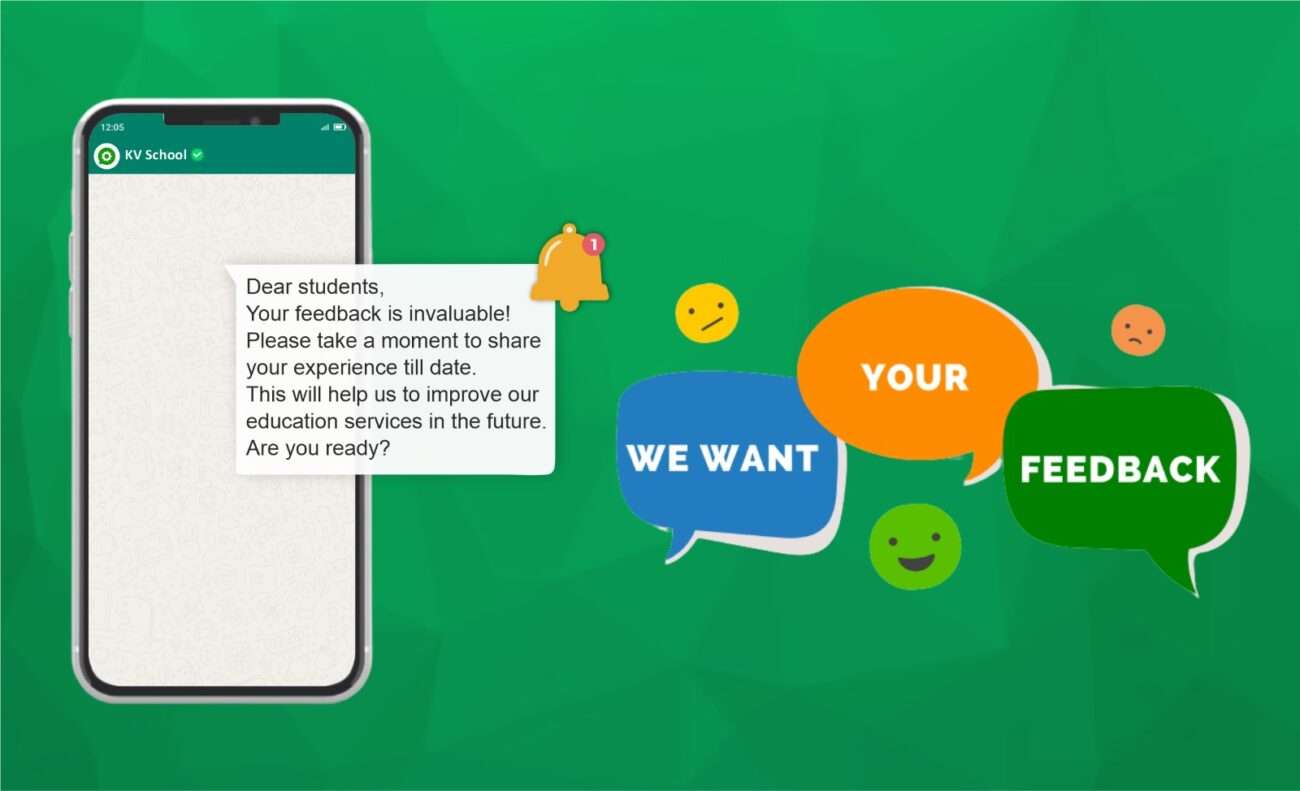
Improved user experience is a key to business growth and WhatsApp's improved communication channel will improve user interactions. The integration significantly increases the percentage of direct interactions with the website.
Versatile business uses:
WhatsApp API can be used for a variety of business purposes including customer support, sales, marketing, and automated messaging.
Now let us try to understand the integration of WhatsApp API step by step:
Step 1 : Access WhatsApp Business API
Before you can start integrating the WhatsApp API, you will need access to the WhatsApp Business API. For this you can request access directly from WhatsApp or through one of the better WhatsApp business solution providers. Once approved, you will get access to the API.
Step 2: Set up your WhatsApp Business account:
Follow these steps to set up a WhatsApp business account:
I. You download WhatsApp Business.
II. Next verify your phone number and ensure that it is a dedicated business number for official communications.
III. Set up your profile Create a profile with business information including important information like business name, logo, description and contact information. This information will be visible to the user.
Step 3: Choose an integration method:
Choose the right integration method. These are the main types of integration methods.
I. REST API: It is a set of rules for designing web services that conveniently allow different software applications to communicate over the Internet. Proper integration with REST APIs gives you more control and better customization over your business interactions. This is a good fit for you if you have technical expertise or development resources.
II. WEBHOOKS: Webhooks are messages sent automatically from apps when something happens. These are easier to install than REST APIs as they require less technical expertise. When integrated properly with webhooks, you can receive real-time notifications and updates from WhatsApp, making it ideal for direct integration.
Note : Both integration methods require technical expertise. If you do not have technical expertise then you can take help from a WhatsApp Business API provider.
Step 4: Get your WhatsApp API key
Once you've chosen your integration method, you'll receive an API key from WhatsApp. This key is like a digital fingerprint that authenticates your requests to the API. Its proper authentication secures and authorizes your transmission to the Services.
Step 5: Develop or customize the solution
For a customized solution you will need technical expertise which involves two steps:
I. Develop a custom solution: For this you need technical team, if you have then you can create a custom solution as per your specific requirement. This solution provides maximum flexibility and better control over your WhatsApp integration.
II. Use existing tools and platforms: If your team doesn't have technical expertise, you may prefer a simpler approach. For which you can take the help of third party service providers like Wati, gupshap, Twilio Zendesk, Vertex suite etc. which provide you pre-built WhatsApp integration solutions. These services providers create user-friendly platforms and require minimal technical knowledge.
Step 6: Add WhatsApp Button or Widget
Once the WhatsApp API is integrated, it is important to create an accessible WhatsApp button or widget for user interaction. For which something is said here:
I. Design your button: Design a WhatsApp button or widget that matches your website's theme. Make sure the WhatsApp button or widget design is user-friendly and encourages them to engage in product-related conversations.
II. Strategic placement: Place the button on different pages regarding the user interface on your website. Some common locations include the homepage, contact page, product page, and checkout page to ensure that users can easily find it, no matter what area of your site they are in.
III. Integration: Use the API key you received in Step 4 to link the button or widget in your website to your WhatsApp Business account. When users click on the button they will be directed here.
Step 7: Handle user consent:
When you integrate WhatsApp with your website, it will take care of user privacy. Make sure the user provides their consent before contacting them through WhatsApp.
I. Consent Checkbox: Include a consent checkbox on your website's touchpoint. The user must have the consent option to receive messages sent through WhatsApp.
II. Make the purpose clear: Tell your users why you are collecting their information through WhatsApp and how you will use it because transparency builds trust.
Step 8: Fully Test Your Integration
Once the WhatsApp API is integrated into your website, test it thoroughly in three ways:
I. Functionality Testing: Whether all features such as user consent, message delivery, automated responses work properly after WhatsApp API integration.
II. User Experience Testing: Let users use your chat services based on your website message point and get feedback from them about your chat services. Verify that the WhatsApp button or widget is easy to find.
III. Bug detection: Identify bugs or issues based on testing and resolve them immediately.
Step 9: Understand the User Guidelines:
Here it is very important for you to understand the policies and guidelines of WhatsApp for your business use with your team. This knowledge ensures that your customer service or communication service is compliant and respectful. Familiarize yourself with the WhatsApp Business API documentation and policies to maintain a professional and ethical approach to messaging.
Step 10: Launch and Monitor
Once you have fully explained the above points then you can launch your WhatsApp API integration on your website. Once the integration goes live, monitoring WhatsApp chats is important.
I. Performance evaluation: Continuously monitor how the website chat system is performing by looking at metrics such as response time, user engagement, and message delivery.
II. User Feedback: Identify improvement areas based on user feedback.
III. Compliance monitoring: Periodically ensure that your communication practices comply with WhatsApp policies and user consent.
Following the above steps correctly, provides your business system with a seamless and user-friendly communication channel. Integrating the WhatsApp Business API can enhance the user experience. It empowers you to handle customer inquiry system in real time. Customer communication service is important for any business in this digital age and WhatsApp API integration is a valuable tool for business.

2 thoughts on “How to Integrate WhatsApp API into Your Website”