Using third-party scheduling tools or services is necessary if you want to schedule messages on WhatsApp Business without utilizing the WhatsApp Business API. With the help of these useful tools, organizations can plan and automate their message campaigns, saving time and effort and guaranteeing timely consumer communication.
Here's a detailed guide on how to schedule messages using third-party scheduling apps:
1. Choose a Scheduling App:
Choose a trustworthy scheduling app first, either from the Apple App Store (for iOS devices) or the Google Play Store (for Android devices). Seek for applications that meet your business demands and have good ratings and reviews. "Scheduled - Schedule your text messages" for Android and "Scheduled App" for iOS are two well-known scheduling apps.
2. Download and Install the App:
Download and install the scheduling app on your device after making your selection. To set up the app and provide any required permissions—like access to your contacts and messages—follow the on-screen prompts.
3. Access the Message Scheduling Feature:
Go to the message scheduling section of the scheduling app after opening it. This functionality could be found in the app's menu or prominently displayed on the home screen. To start writing your prearranged message, tap the scheduling feature.
4. Compose Your Message:
The scheduling tool has a text field where you can type your message. Type out the message you wish to schedule, including any attachments, text, and preferred emojis. Take use of this opportunity to craft a message that your audience will find compelling and understandable.
5. Select Recipient:
Choose the recipient of the message you have scheduled. You can select a contact from your device's address book or manually enter their phone number. To avoid misunderstandings, make sure the recipient is the appropriate individual.
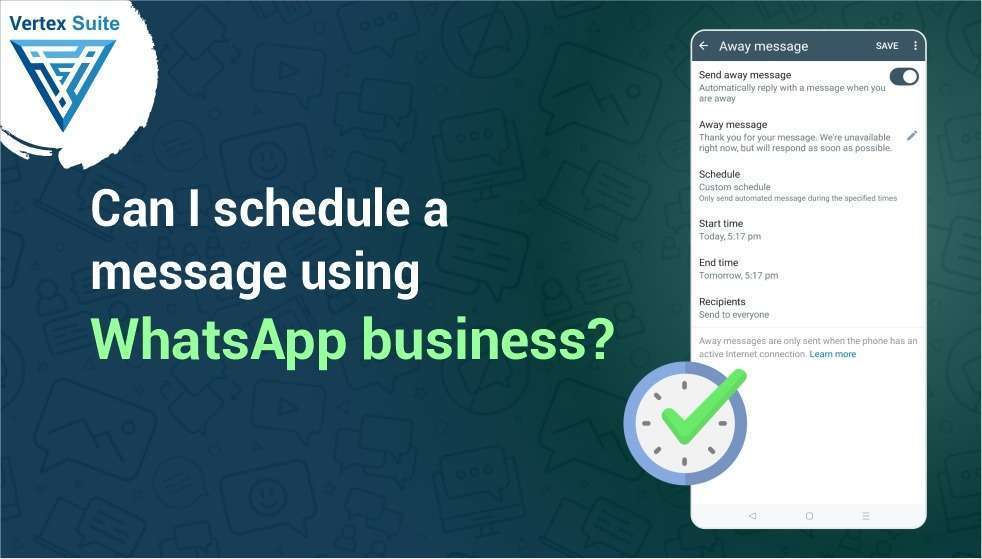
6. Set Date and Time:
Indicate the time and date that you would like the message to be sent. You may set the date and time of your messages down to the minute with the majority of scheduling tools, giving you flexibility to schedule messages for various events and time.
7. Confirm and Save:
Verify the scheduling information twice to be sure it is correct. Make sure everything is accurate by going over the message's content, recipient, date, and time again. Once you're happy, save the scheduled message and verify the scheduling parameters.
8. Automatic Sending:
At the appointed time and day, the scheduling software will automatically send the message. For the message to be sent, you don't need to keep the scheduling app open or active; it will send automatically in the background at the time you've designated.
9. Review and Manage Scheduled Messages:
Viewing, editing, and deleting scheduled messages is possible with many scheduling programs. Typically, the scheduling app's UI allows you to view your list of scheduled messages and make any necessary adjustments. This enables you to make necessary adjustments to your messaging strategy and guarantees that your planned communications complement your company objectives.
By following these steps and utilizing a reliable scheduling app, businesses can effectively plan and automate their messaging efforts on WhatsApp Business. Scheduled messages enable businesses to engage with customers at the right time, enhancing communication and fostering stronger relationships with their audience.